Showing posts with label Crafts. Show all posts

Sunday, January 22, 2012

Greeting Card Keepsake

Hello Readers!
Today I spent a little time in the craft room trying to do one of the many projects I have on my list! I found the inspiration for this Greeting Card Keepsake on Pinterest (of course!). There are several ways I think you could do this project but I found one way that I liked best and tried it out myself. Here's how it turned out!
 Pretty clever idea! And very easy to make! Now I have several more to do... Better get back to work! 
Thanks for reading :)

Update! 1-25-12  I finished all of my Greeting Card Keepsakes today! They turned out super cute too!


Tuesday, February 22, 2011

Valentines and other cards!

Hello again!
Now that all of the Valentines I sent out have been received, I thought I'd share the easy and cute card idea! I found this idea in my February issue of Scrapbooks Etc. I loved making these cards. They were so easy that I ended up making the envelope that went with it (which is usually a lot more work!). Here  is a pic of the Valentines.
Like I mentioned in the post about the Valentine Mantel, I have been loving gray, black and pink this Valentine's Day! So I stuck with the same color theme for my Valentines!

I had a few extra blank cards and Katy Jo just got accepted to UF (yAaAaAayYyYy!!!!!!) so I made her the same card just in different colors!

Anyway, thanks for looking! Enjoy these cutie and super easy cards!

Sunday, January 23, 2011

Long time, no see!

Hey friends!
It's been a while. 2011 has been pretty crazy at school and we've had busy weekends. So the blog has sort of been at the back of our minds!  BUT, I've been wanting to share some of the projects and crafts I've created over the last month or so. Maybe soon I'll post the instructions to some of the crafts too!

I'm a little late about adding these first few but hey, take the idea and run with it...
Maybe heart shaped crayons for Valentine's Day?!?!
I used all of our broken pieces from the classroom and remelted them and poured them into candy molds!

Cutie-Crafty Ornaments made with a styrofoam ball, paper, confetti and straight pins!

The kids designed their own paper for the presents for their parents!
(that's a tongue-twister!)

This craft is something I've seen in magazines and at craft shows.  It was one of those things that I saw and thought, "...How cool! I bet I could make that!"  So I made this one for a Christmas present for my Mom.
Side 1

Side 2

And of course our Lola Girl has to make an appearance whenever the camera comes out :)

Appliqued shirts! I just can't get enough of these! They are SO easy and fun!

Magnet Clothespins!
Another fun and easy project!

Ruffle Card
Bobby gave me a few craft magazines in my stocking. I found this card idea in one of those magazines! I made this one for my Grandma's birthday!

I loved that one SO much that I decided to make this one for a Baby Shower card :)

Well that's my little crafty catch up!
Thanks for reading!

Sunday, September 12, 2010

Bride To Be

Hey! Long time no see... 
I can't believe it's be so long since I've posted! (forgive me...) I've been so busy with school starting, football season and my Matron-of-Honor duties! Well, you might remember the Save-The-Dates I made with the help of my best friend and Bride-to-Be, Kelly. Well this weekend was her Bridal Shower. I put a lot of thought into how to decorate and make it look festive for Kelly.  Here are a few pics of what I came up with...
The Invitations!

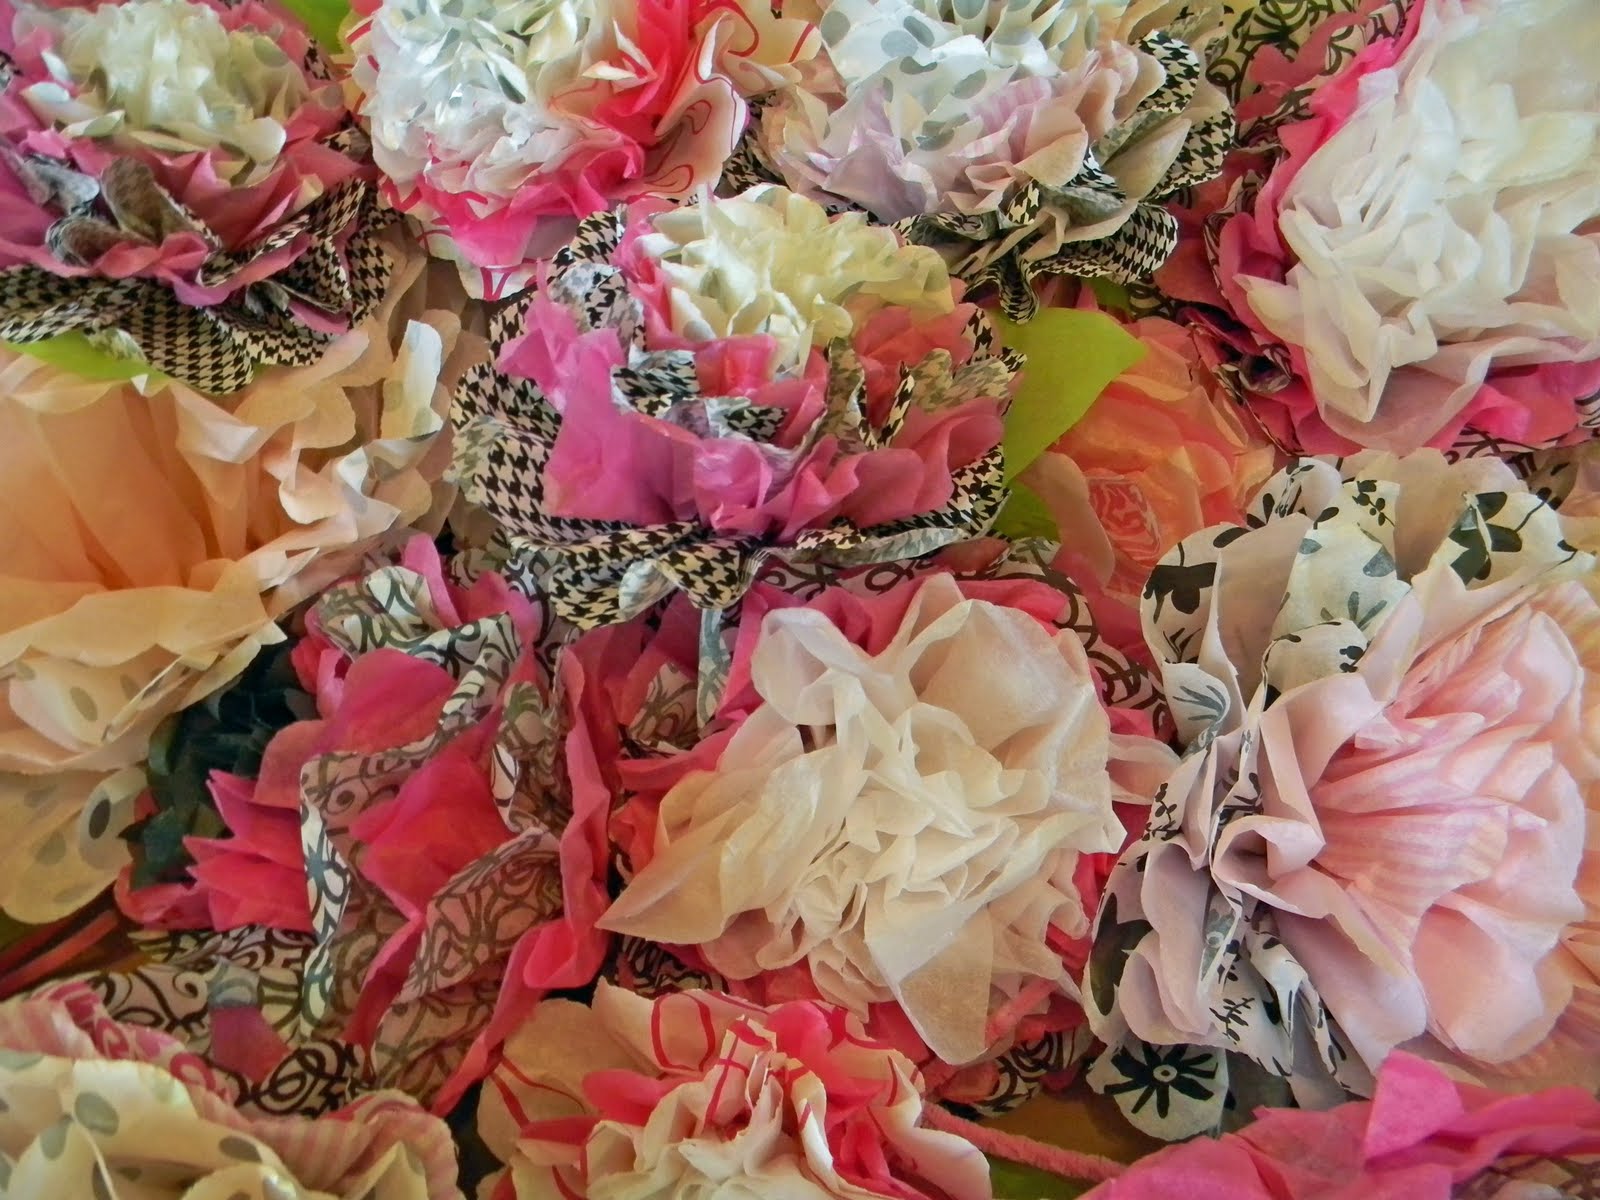
Tissue Paper Flowers for Table Decorations!


Bride To Be Banner

Mix-n-Match Table Napkins, Bride and Groom Stand Up Napkins and Tissue Paper Flowers

Old, New, Borrowed, Blue Gift from Honors, Mom and Sister-In-Law


Here are some pics of all the Shower fun! Enjoy!

Friday, July 23, 2010

Glass Blob Magnets!

Happy Friday!
Guess what I just made?  Glass Blob Magnets! And they were SOOoooo easy!  I've always wanted to make them.  I've seen them at craft shows and in magazines and books, but I've never made them myself until now!  And I'm going to show you how to make them too!!!
Ok. First you need these materials:  
Glass blobs: small, large, both, whatever!
Magnets
Scraps of paper (you could even use pictures!)
Hot glue gun
Scissors

Next, find the best area of the paper (or picture) to glue your blob. Then, squeeze hot glue onto the flat side of the glass blob.  Then place the blob onto the paper and press down.  The glue should spread out and any bubbles in the glue will go away.  Do this quickly, hot glue dries fast!

After your blobs and paper and set. Trim of the excess paper and hot glue magnets to the paper!


Now, you have adorable magnets!

Wednesday, July 7, 2010

Crafty Catch Up!

It's Summertime and the Bloggin' is EASY! During the school year, the blog was a little neglected and although I was still a very busy crafter, I wasn't posting and adding all the fun stuff I had been working on.  So here is my attempt to catch up!

I was asked by a teacher friend to make letters for her new niece Lily.  The main nursery color was light green, but of course she wanted the letters to pink and girly.  Notice the glittery green heart mixed in with the polka dots on each letter! I love how these turned out!
(click photos for larger view)

Next, my good friend and hair stylist recently moved her shop to a new location and she really glammed it up! I offered my help with anything she needed and she took me up on my offer!  Here are the signs I made for her doors and I also designed a postcard that she used to notify her clients of the move/ Grand Opening of the new location.

I recently posted about my little cousin Sarah's birthday party.  Here's a pic of the invitation I created for the party and the Tutu I made for her.  This invitation might be my favorite that I've made so far.  Also, the Tutu was SO easy and TOO cute!  Maybe someday I'll post instructions on how to make it...

My cousin Miranda had her twin boys Eli and Owen on May 29th! Here is a picture of the letters my Mom and I made for the boys' room.  I'm also sharing a picture of the cutie baby shower card I made using my new Cricut Cartridge: Stretch Your Imagination! (given to me by 2 of my favorite teacher friends)  :)

Another celebration of twins! My beautiful nieces Abby and Tristin are turning 7 tomorrow! These are the cards I made for them using another Cricut Cartridge: Create a Critter.  I love this cartridge because it is full of the cutest little creatures... I see some great crafts using these critters in the future!
Well I think that's it! All of these pictures can be found in my craft slideshows too!
Thanks for looking!

Monday, June 28, 2010

USA!

Remember my LUCKY St. Paddy's Day Crafty Decoration?  Well with a few easy steps, I turned it into a 4th of July Decoration!  All I had to do was think of a new "word," find some red, white and blue papers, and do a little cutting!  Here is how it turned out...

Hope you have a Happy 4th of July!!!

Monday, March 15, 2010

The Luck of the Irish

Hi!
Well, just in time for St. Paddy's Day, we have a new craft idea to share!  I have seen this idea on several different craft blogs and I finally had to try it for myself.  The greatest thing about this craft/ decoration is that it can be changed and reused for each holiday!

First, collect about 5 old picture frames.  We didn't have any to use around our house so we went out and found some cheap frames from Wal-Mart and TJ Maxx.  Then buy a can of spray paint. I chose white, but depending on your style or decor you could choose black or any other color! :)

Then prep the frames by removing the glass and all that stuff.  Layout some newspaper and start spraying!
While your frames are drying think of a word that goes with the season you are decorating for...we chose LUCKY for St. Patrick's Day! You will also need some "Holiday Inspired" scrapbooking papers.  Cut your paper to the picture size of the frame.  Cut out the letters of your holiday word.  I used my Cricut (Wild Card Cartridge) to cut out the letters but you could also just print the letters from your computer and cut them out! :)
Once your frames are 100% dry, it's time to put it all together.  I put the paper in the frames before I attached the letters in case I had to trim any of the papers (which I did).  You can also add some cutie embellishments to the frames.  Now set them up for everyone to enjoy! 
Happy St. Patrick's Day! 
 Happy Everything!!!

Monday, February 15, 2010

Handy Dandy Matchbook Notepad

Hi!
So, as you might know I am very into creating different paper crafts, especially cards.  Recently, I have been interested in making a Matchbook Notepad.  I have seen these on etsy and in stores and have thought, "I could make that!" Finally, I have been inspired by an idea from a friend to sit down and make one!

I am very excited to share my first tutorial on my Handy Dandy Matchbook Notepad (and matching pen too!)

You will need: 
3 in. x 12 in. scrapbook paper of your choice (double-sided paper is best!)
Adhesive of some sort (I used glue stick and double-sided tape)
Embellishment of your choice
Bone folder

 1. Line up your paper with the end of your scratch pad.  Use the pad as a guide for where you will create your first fold.  Then fold your pad along the crease you made and create another fold.  Continue until you have folded the paper around the pad. *There should be a small section at the end that overlaps the front flap of your pad.

2. Apply adhesive to cardboard backing of pad. Stick paper to adhesive. Let dry for a few minutes.


3. In the mean time, you can start on your matching pen :)  Remove bottom cap and ink from pen.  Use a scrap that matches the paper you are using for your pad.
Measure the clear length of the pen and cut paper to that size.  It shouldalso be about 1in. wide.  Roll the paper scrap and put it into the pen.  Replace ink and bottom cap! You're done!
Easy-peasy-lemon-squeezy!


4.  Now, back to the pad.  Fold your pad up matchbook-style.  Place embellishment over part of the bottom and the top flaps to decide where you want it.  (*Note, I used a sticker on my first go 'round which ended up being too light weight. You will want to choose something heavier like a button or chipboard shape.)  Apply adhesive to top part of embellishment (Notice, I covered the sticker's adhesive on the bottom half.) Stick the embellishment to the top/long cover of the pad.


5. Tuck bottom/small flap under the non-sticky side of the embellishment and you have a Cutie Patootie,  Handy Dandy Matchbook Notepad (and matching pen too!)


Extras: 
*To add a little special touch, randomly stamp cute designs on pages of the notepad.
*If you want to have an even more securely closed notepad you could attach a mini-magnet to the flaps!
*Wrap and give as a gift or just keep for yourself! Whatever you decide...Enjoy!!!

If you make one you're particularly proud of...Share! I'd LOVE to see it!!!

Stampin' Up Valentines

First off, we have to say CONGRATS to the Saints for winning a hard fought game! Who Dat!!!


I'm so excited about Stampin' Up! I was invited to a Stampin' Up party by our Media Specialist at school.  What is Stampin' Up you ask...?  Well, let me just say that if you are into paper crafts or stamping at all you will love it!  It is a company that sells the CUTEST stamps you have ever seen!  They also sell great stamp pads, paper, hole punches and more!
Anyhoo, at the party we got to make 10 cards.  I decided to make all of mine into <3 Valentines <3 that I could send to my friends and family!  Here's a pic of the 5 styles of cards I made!
Once I sat down and thought about the friends and family I'd be sending Valentines to... I realized I needed more!  So I decided to use some of the stuff I have at home to make a few more cards!
I had so much fun making these Valentines.  I hope all of my friends and family enjoyed them too!
Related Posts Plugin for WordPress, Blogger...